Friday, December 18, 2009

Assassins Creed 2- Ezio's belt

Been working on a personal project, full cosplay of Assassin's Creed 2, big fan :)


One of the tougher elements has been the belt.. its not only located in a spot that would mean breakage for the thing unless it was was made from metal, but the design itself just wouldn't work, because the posts on the buckle are facing the wrong way, and even if they were, they'd be a b*** to buckle.

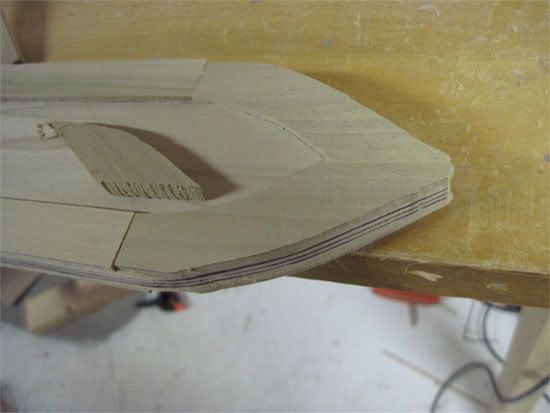
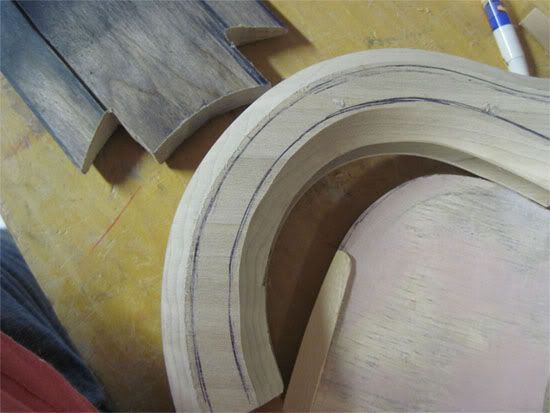
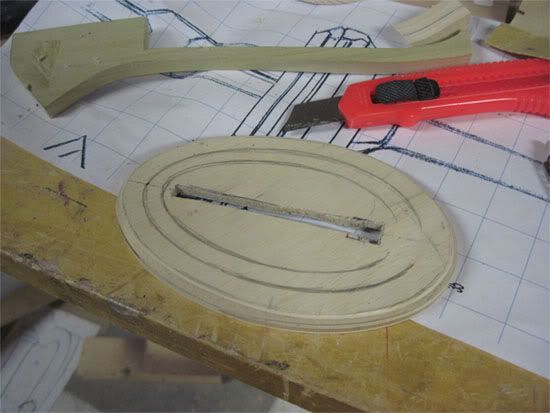
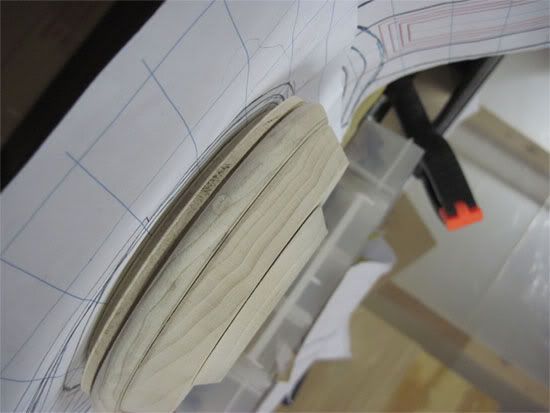
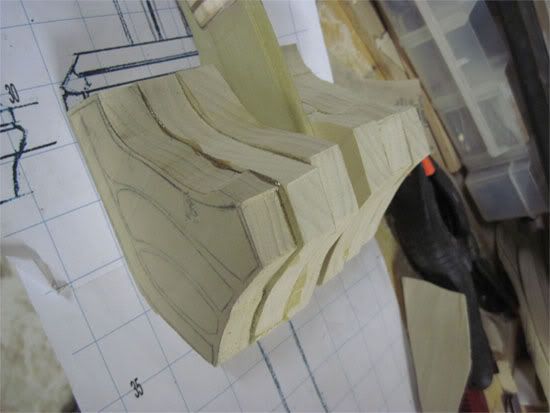
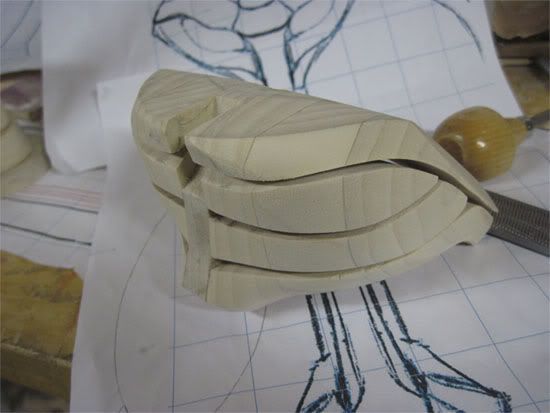
first of course, was layout.. Drew up the design and made a tagboard and plywood mockup to lay out the belt. Will sculpt the insignia onto the plywood.

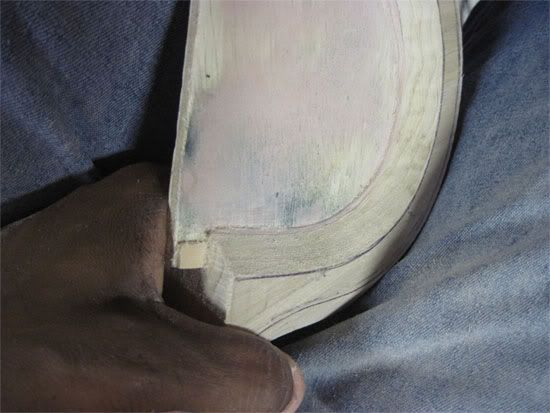
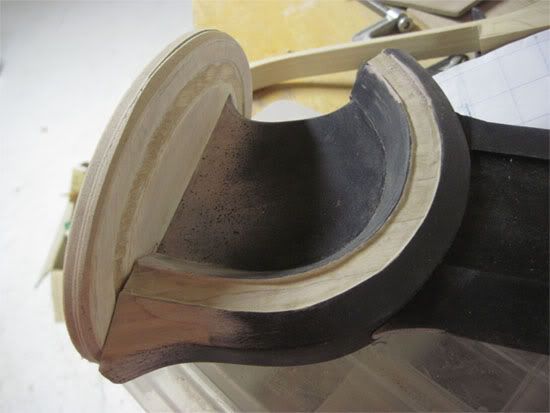
Then began the sculpting. Used super sculpey. I don't remember how long it took because I wsa working on & off between projects.


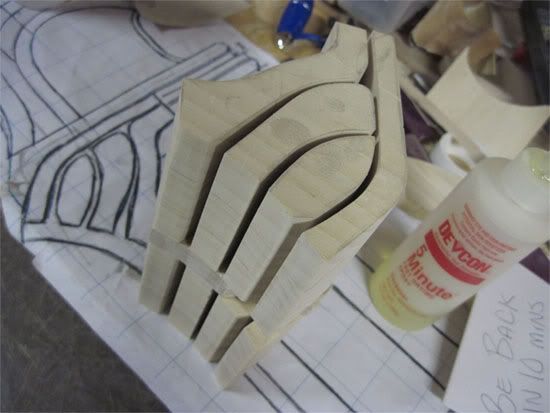
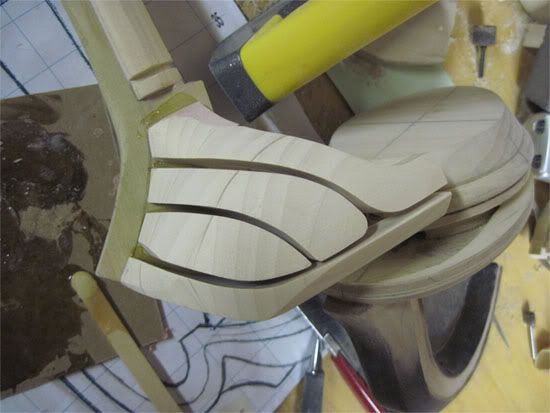
I had sculpted and baked the insignia in sections, to help avoid fouling up areas that already sculpted.


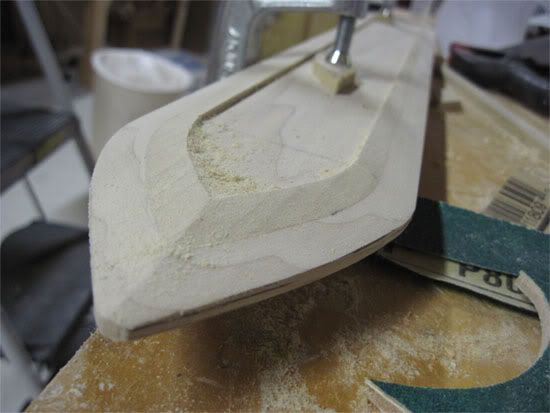
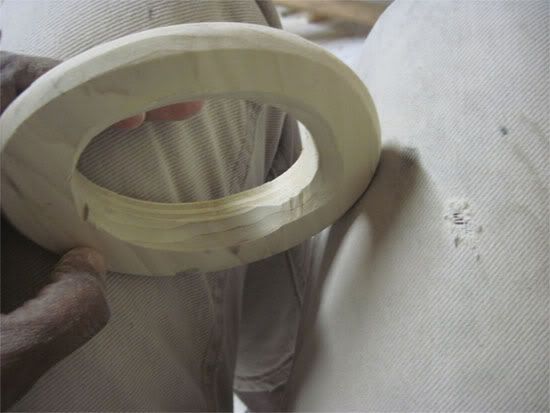
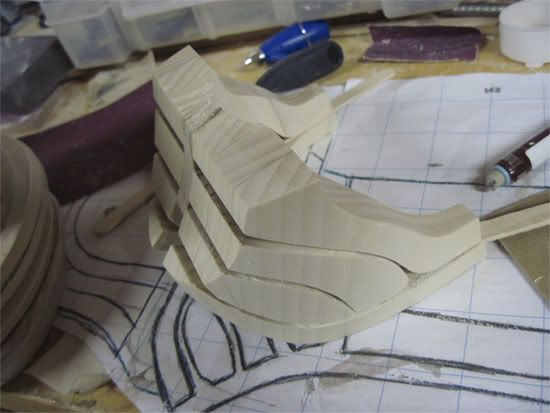
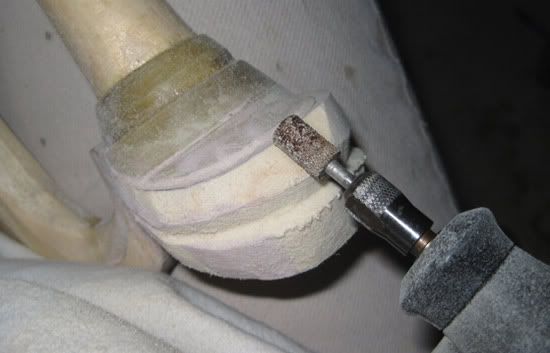
 A lot of sanding was done to smooth out imperfections and such.


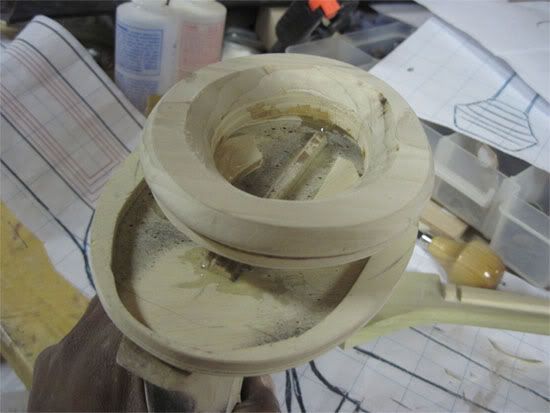
After a quick acylic paint test (and subsequent stripping of the paint, which proved tougher to do than i thought), I cast it in Moldmax 30, and poured a plaster support to keep it from losing shape when doing pours.


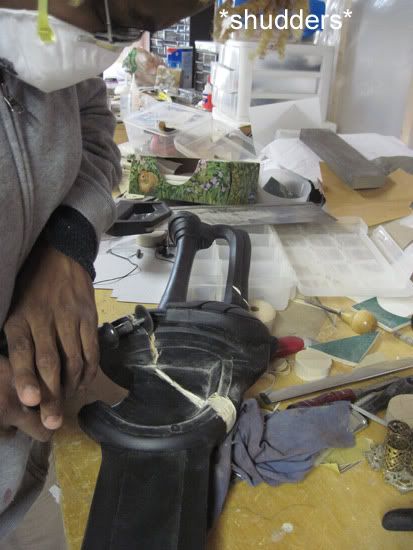
After brushing the inside of the mold with aluminum powder, I poured smoothcast 325 into the mold. Here's the result of the cast once it set.


After sanding the reverse side of the cast to remove the flashing and even it out, I did a "wash" of sorts using spraypaint and a rag.


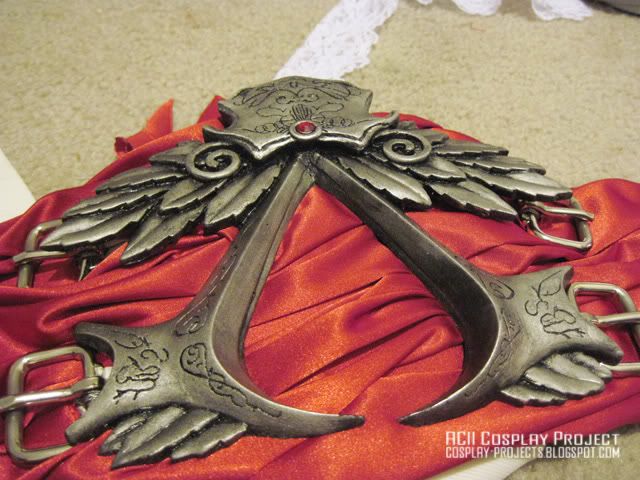
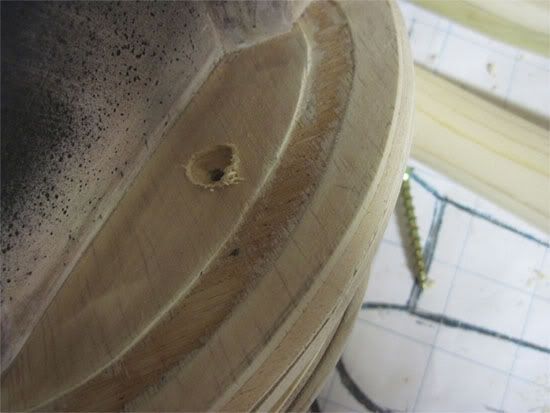
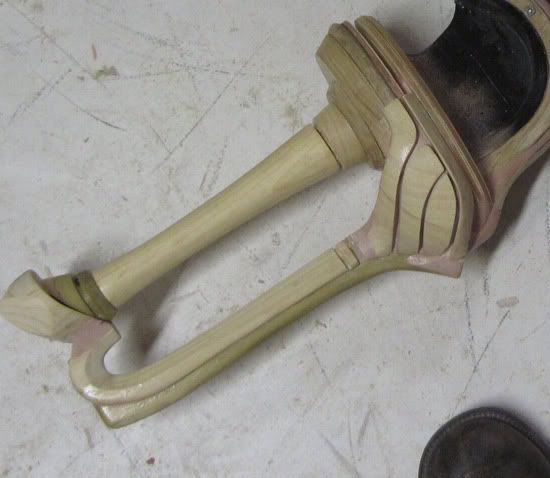
theres the finished components. Added bolts to the back of the insignia, to connect it to a backplate shaped by heating 2 layers of Sintra and gluing them together with an epoxy to add strength. It'll protect the insignia when ones bending, as well as provide a base to mount the buckles onto. I cut the roller bars off the buckles, and they're mounted to the plate using framing wire. Added padding so the wire won't jab the wearer in the stomach.

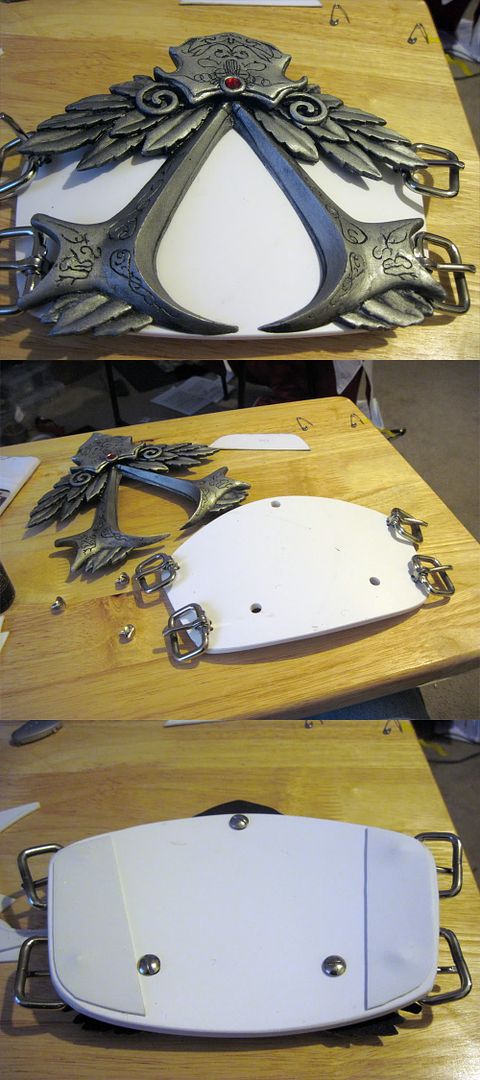
The sash is actually fabric wrapped over a piece of vinyl in the approximate shape i wanted. Bunched it up to look as close as i could get to the references. slots and holes were cut into it to add it onto the backplate. Added hook and loop onto the ends of the sash, to make it easier to put on. the seam will be covered by the sash that hangs off the side.


The insigna was then bolted onto the backplate :)
 

Time to cut out & test the belt straps! When done with those, the insignia will hold the partial pieces of leather in place., because Ubi didn't' make a design that would actually WORK and theres "magic" involved XD
 

Used the cardboard mockup as a pattern for the leatherwork. After hooking the sash around the waist, I buckle the straps in the -back-, since that setup back there actually -does- work  based on the references.
The AC logo in the back is purely decorative, since I'll be clipping pouches to the back of the belt once they're completed.
 

Since the insignia required a mold, I can make more  insignia assemblies if one might be interested. Belt n' sash not included.. Here's some info and a request form here

Other elements of cosplay gear (left bracer, daggers, paulron clips etc. ) will undergo similar treatment XD

Thursday, October 29, 2009

Drakengard 2- Caim's Sword

I was commissioned to make Caim's sword from Drakengard 2. I was to make the sword based on the older form of this character, where its more worn, quite battledamaged, and there was a color shiift from blue to red :)


To get the recessed area of the blade, I glued thin panels to the sides...


...then tapered the sides of the blade as normal. That left a nice clean inner bevel :)


The "arch" was made from 3 sandwiched segments of wood, with a space to insert the blade.


I added the center section of plywood, using craft sticks to center the plate. Bondo was added to fill in the gap, and the inner arch was carved in.


I cut out a slot to accomodate the plywood plate.


the arch was fitted,and glued to the plate


The unserside of the hilt was made from 3 layers of wood


I glued two of the sections together and bored out the center to help keep the sword as light as possible.


They got connected to the base


After gluing the bottom piece (which didn't get bored) I added a pair of screws to add additional strength.


Three sections of wood were glued together to compose the "basket"


I cut the groves and sended the parts smooth


.. then glued them onto a scrap piece of wood to shape


Rough cut them using my bandsaw


and shaped them into the shape I wanted using files and sanding blocks


The segments were cut off the scrap block. Here's the segments!


They got glued onto the actual sword :)


And here's where I went into a building frenzy and forgot to take photos..
After squishing bondo between the cracks I scraped at it while it set, and before it cured (its easier to do than carving it when its hard!) to acheive the depth I wanted. The curve in the back was built up using wood and bondo. The grip was also made and connected. Here's the end result after I sanded it and applied wood hardener.


The pommel was carved using a Dremel, files and sandpaper :)


After finishing sanding, and a coat of primer, I used a dremel and a hacksaw to add major battledamage!


sand, detail, and yay!


Monday, October 5, 2009

Drizz'ts Swords- Forgotten realms

This is a pair of swords I had done based on designs by Todd lockwood

After going over a couple ideas and get feedback on the design for the blade edge (made three rough drafts from insulation foam), I went and began shaping the blade.


A light held close to the edge of the blade helped show details, and I funetuned the edge with files and sandpaper.


The elven text was "engraved" by woodburning, since woodburning creates recess in the wood.


I tried out using bondo to build up the grip, but in the future I'll just go and use wood, it would be less of a pain ^^;


Here i sprayed a coat of Kilz.. its thick, and can be sanded down really smoothly. between coats of paint I took a needle and scraped out the paint, to make sure it didn't get completely filled in.


After sanding the blade smooth, I laid down a coat of satin black, which takes aluminum powder nicely


I then used aluminum powder and rubbed it onto the blade with my finger when it was almost dry (but not too tacky)


Though there appears to be silver powder stuck in the engraved areas, it was later blown out with a can of compressed air. I left it looking a bit worn, since the character looked to me like he wouldn't be toting fresh out of the blacksmiths shop weapons...


Now Its on to the grips!. Here's  a big pile of strips i cut to wrap the handles with


 I laid down double sided tape onto the handle, and pretty much trial and errored my way into wrapping the handles. I started in the middle, and worked my way out :)


Think I got lucky when it all interlaced correctly on the other side!


I found the perfect bits from the scrapbooking section of Michael's to add to the handles. ..


Drilled holes into these square headed brads, and inserted some zirconias into the holes. They got glued into holes drilled through the handle


AAnnnd the finished blade!